Get Candle with a touch screen
Candle is not for sale, but you can make one yourself. This guide will help you create the touch screen version.
You can also get the more affordable basic version
The Raspad 3
This touch screen shell has a lot of features that make it work well as a smart home controller.
For one, it has a built in battery which lasts for about 3 hours. It allows the controller to keep working when there is a power outage.
A privacy friendly photo frame
The Raspad can stand on its side, which makes it work great as a photo frame.
Step 1: buy the parts
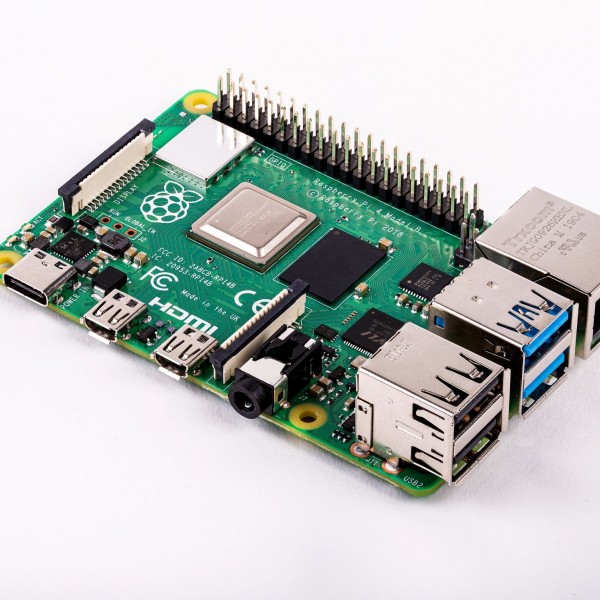
Raspberry Pi 4B
Purchase one with 2 gigabytes of ram (or more). You don't need to buy a power supply or case, as the Raspad has that covered.
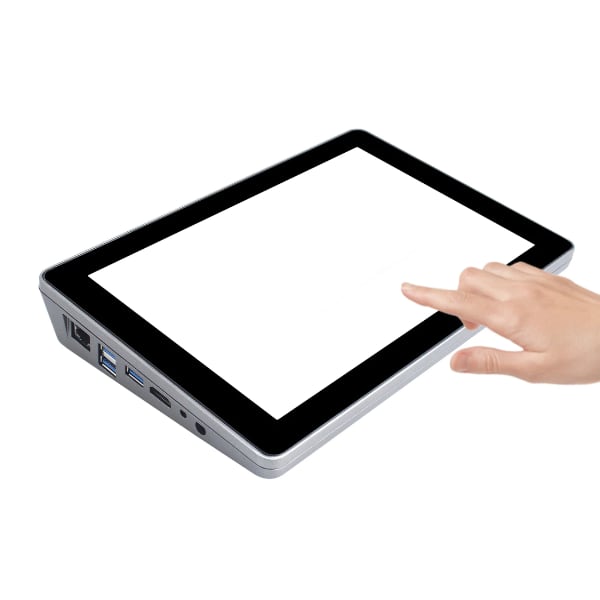
Raspad 3
The Raspad 3 is a housing that is designed to turn a Raspberry Pi into a tablet computer.
It has a 10 inch touch screen, a speaker, and a battery.
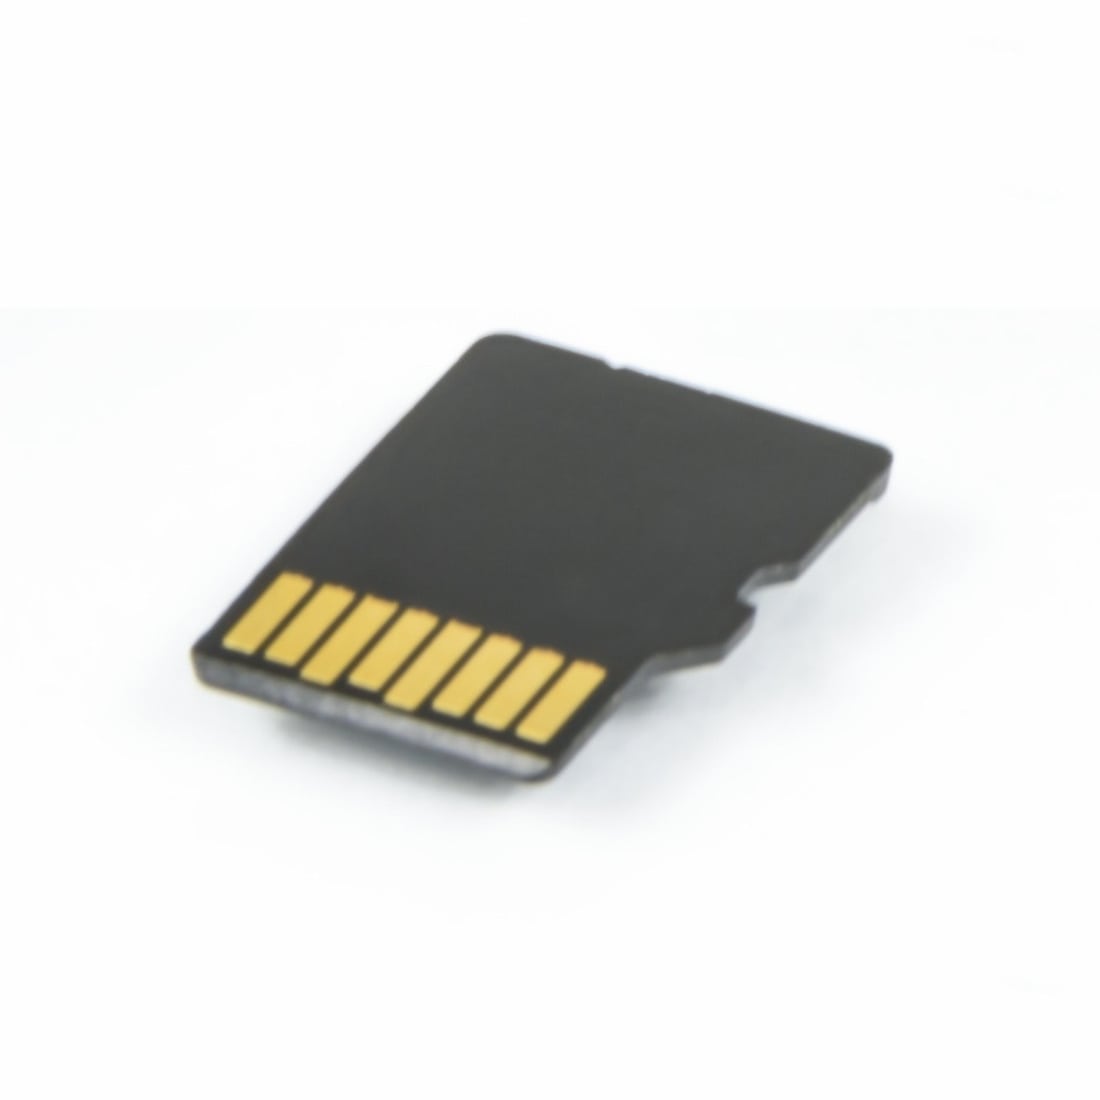
Micro SD card
Get one with at least 16 gigabytes of space. We recommend the Sandisk brand.
You could also look into special long-life versions of SD cards. They cost slightly more, but have a longer life span.
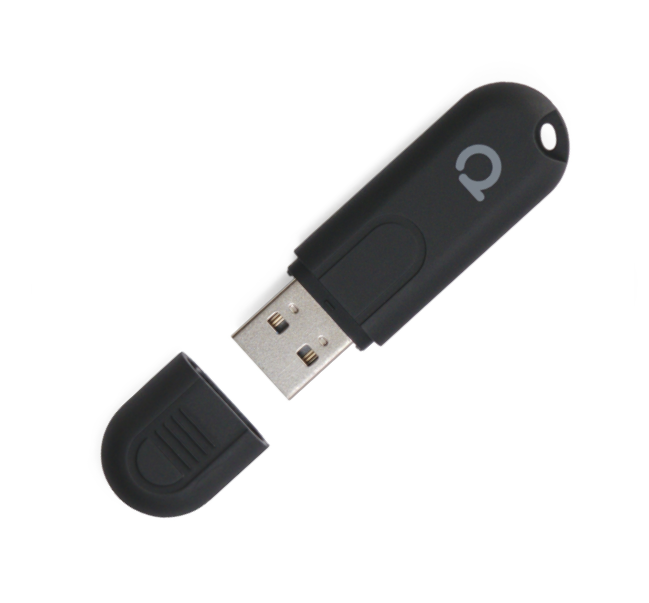
Conbee 2
This USB stick makes it possible to connect to Zigbee devices. It is small enough to fit inside the Raspad enclosure.
Ship shortage
Due to the chip shortage it can be more difficult to purchase a Raspberry Pi. We recommend using this website to find where it is in stock:
Optional:
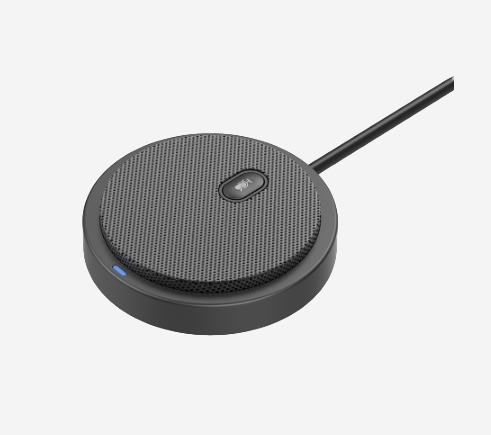
USB microphone (for voice control)
Most USB microphones should work. We recommend this "USB conference microphone". We tested more expensive models, but this one is solidly built, has good range, and comes with a mute button.
Step 2. Plugging in the Pi
Follow the Raspad guide
The Raspad 3 comes with a handy paper guide that will help you insert the Raspberry Pi into it. They also have an online guide. If you prefer, there are also many video tutorials available on Youtube.
Some differences:
- You can skip the accelerometer.
- Before you close the Raspad, plug the Zigbee USB stick into one of the free USB ports of the Raspberry Pi 4.
The SD card, which you need to turn it on, will be created in the next step.
Plug the SD card into your computer
- Open Etcher.
- Select the disk image file your downloaded.
- Select drive. Your SD card should already be detected automatically
- Click "Flash", and wait for Etcher to finish.
From this point on you could also continue with step 2 from the basic Candle controller guide.
Step 4. Turning it on
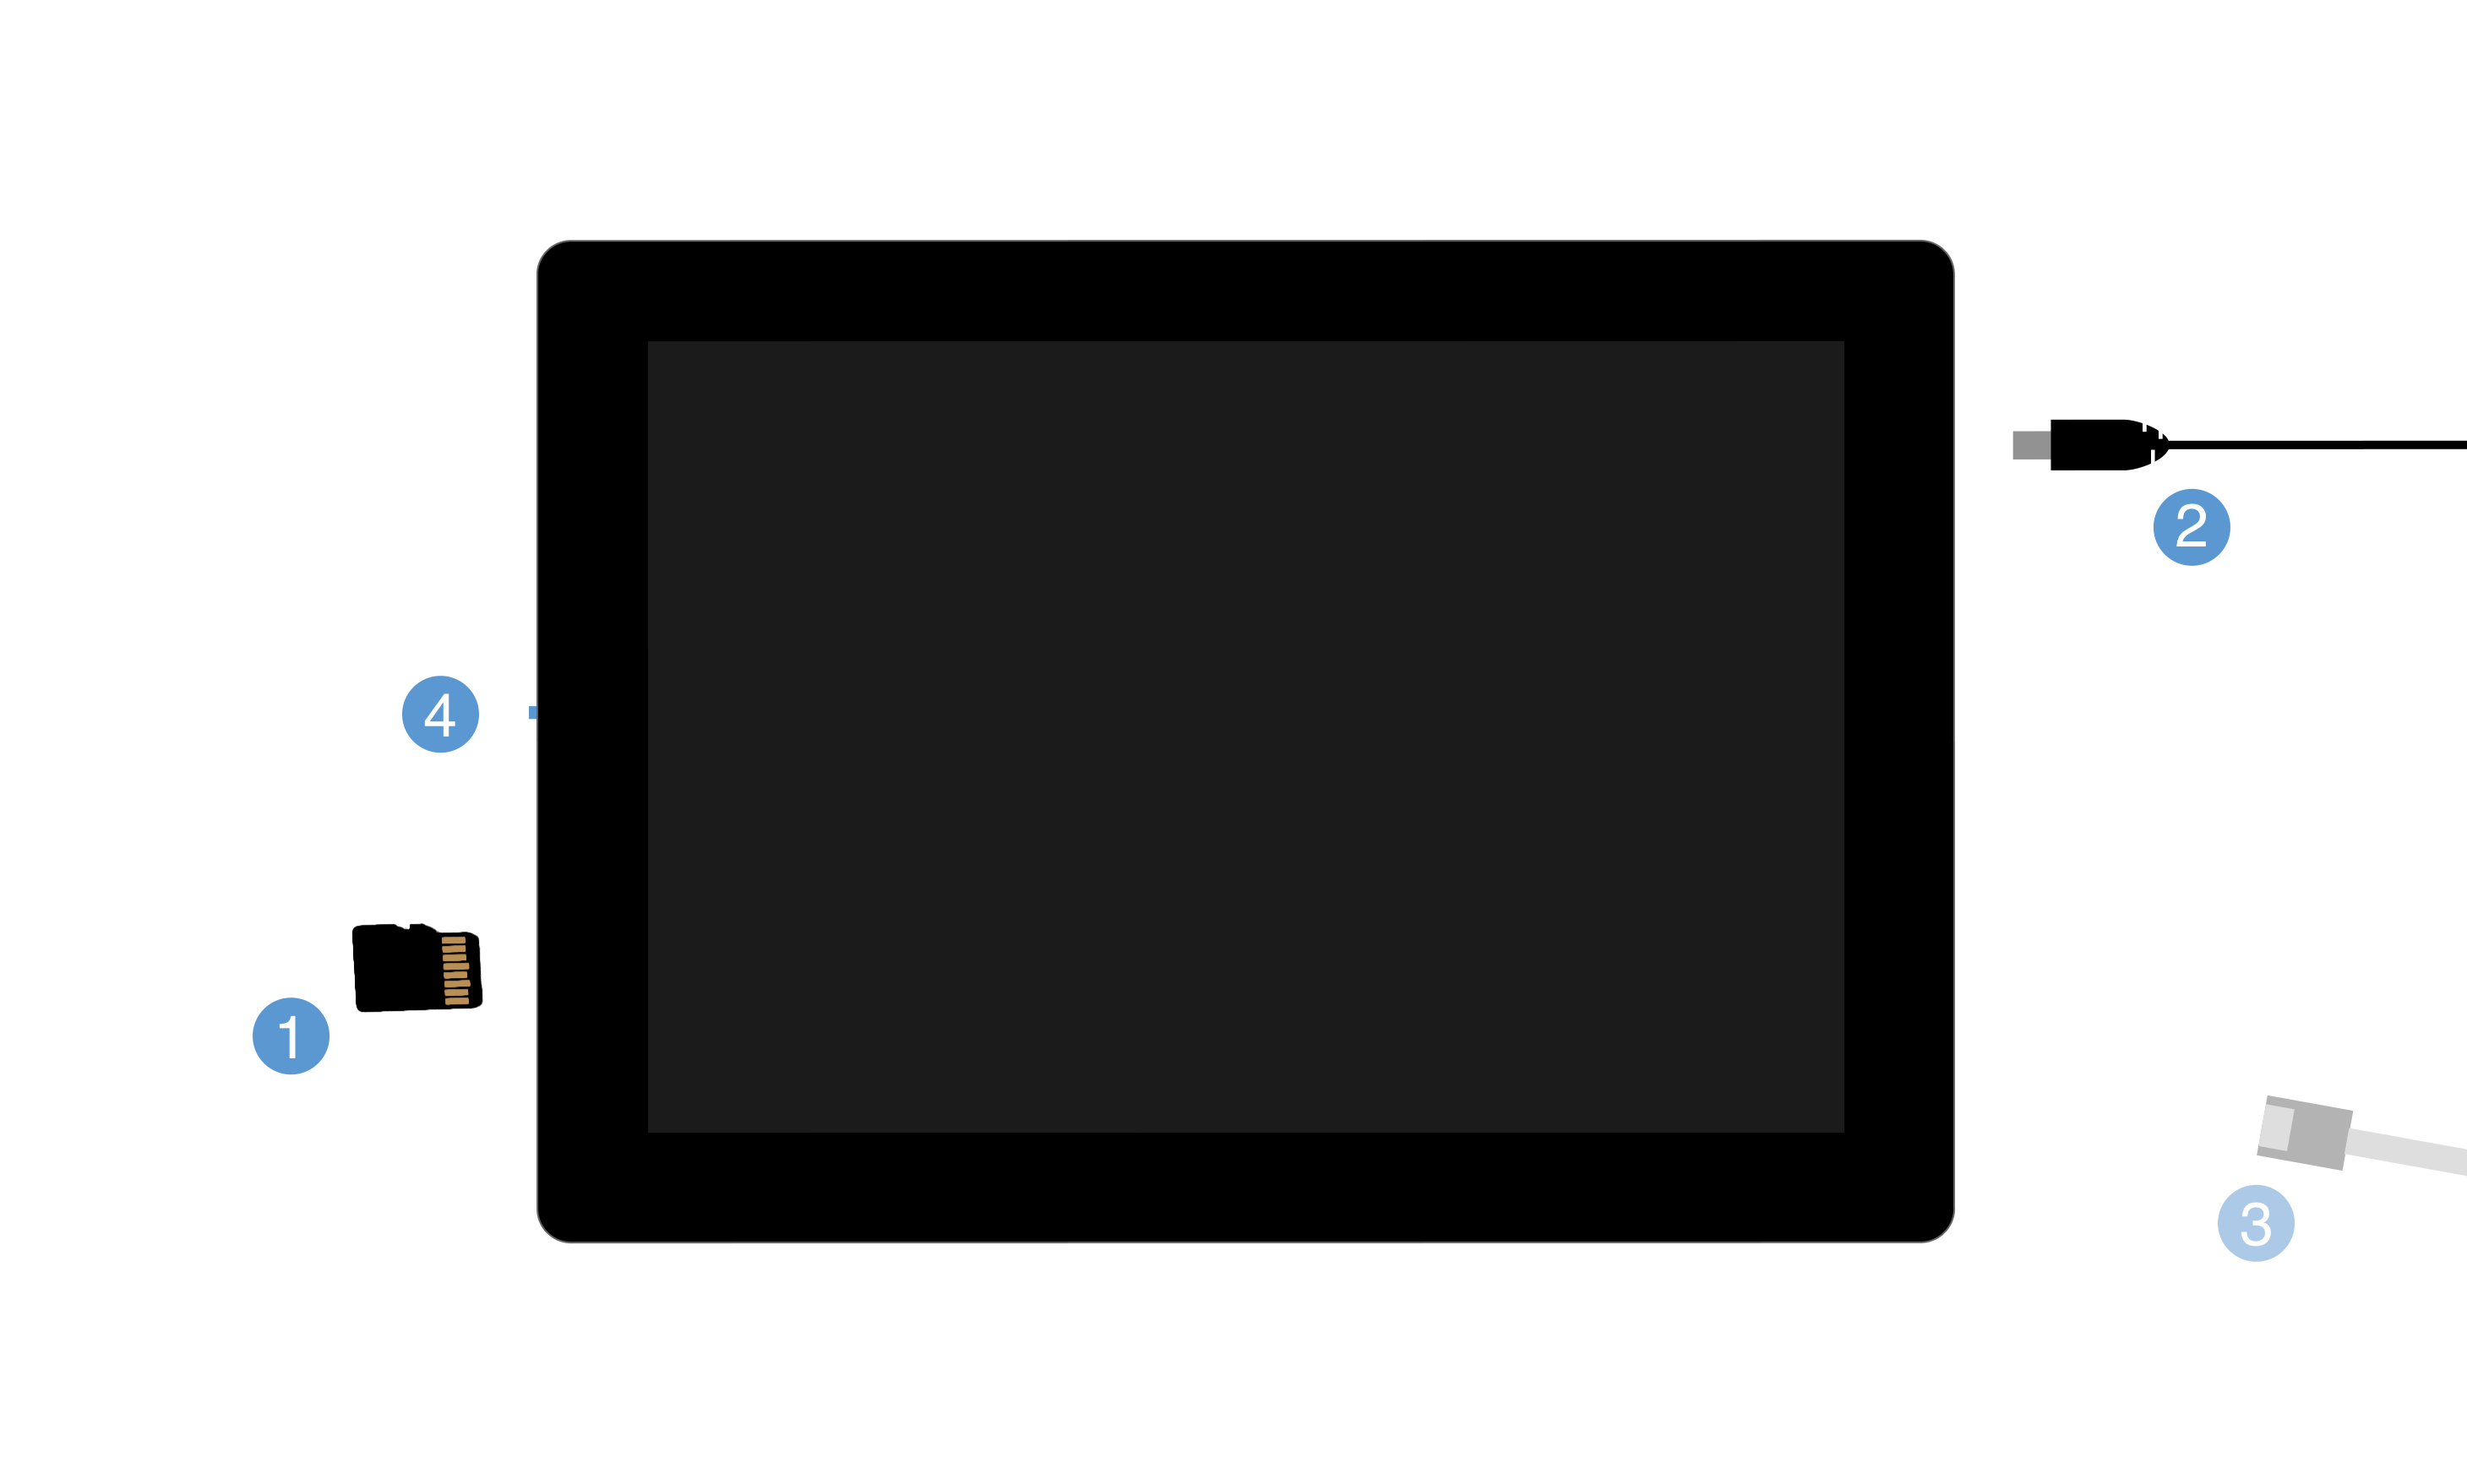
Plug everything in
- Plug in the SD card
- Plug in the power supply
- (Optional) Plug in a network cable. Candle can also connect to your network over Wi-Fi.
- Turn it on by pressing the power button three seconds.
If you want to use voice control, then also plug in the USB microphone.
Optional: connect to Wi-Fi
If you didn't use a network cable to plug Candle into your router, then after powering up the Candle controller you can select which Wi-Fi network it should connect to.
The on-screen keyboard will allow you to enter the password using the touch screen.
Create an account
Using the on-screen keyboard, enter the requested information to create your first account.
From this point on, if the Candle controller has succesfully connected to your wifi, it has become a webserver in your network. Think of it as a website that is only available inside your home.
This means you should now also be able to reach the Candle Controller from your phone or computer by visiting "candle.local" in your browser. It could also be "candle.home" or another flavour. This depends on your router.
Have fun
Candle comes with a built-in guide which will help you set things up in a privacy respecting way.
One big tip: install the Display Toggle addon from the app store. It will allow you to rotate the display 180 degrees, for example.