Getting started with Candle
This guide will take you through every step from start to finish.
STEP 1
Know what you're getting into
How geeky are you?
Decide your "Do It yourself" comfort level
You can use Candle with commercial devices only. For example, you could purchase lights, power sockets, motion sensors and buttons from IKEA.
The more you are willing to DIY, the more privacy features you can get. Our Candle devices require you to click together some electronics. Don't worry, you'll never have to program or solder anything.
Aside from your skill level, also make sure your home insurance provider is ok with it, for example when you build your own smart lock.
Make sure Candle has what you need
Candle offers most features that cloud-based systems do, but not all of them.
For example, if you currently own a Google Assistant or Amazon Alexa voice assistant and use it to look up fun facts, that's not possible with Candle since Candle is designed to not connect to the internet.
This website offers details information, so check if out before you go shopping.
Understand what Candle is
Candle is a community effort, not a commercial project. It's goal is to protect privacy and be transparent and educational. At the moment, if you want to have the Candle system you'll have to assemble it yourself. We've made this as easy as possible. But if you mostly care about convenience and expect perfectly polished devices, you may be disappointed.
If you care about privacy, you're going to love it.
Part 2
Buy the parts
Some assembly required
How comfortable are you with electronics?
Not at all
Then skip the Arduino. Instead, you could also look into getting a Z-wave USB stick so you can also connect those types of devices.
A little
Great! If you want to create the Candle devices, you'll need an RF-nano to act as the receiver for the other devices. You'll also need to get the parts for every Candle device you want to build. You can find the shopping list for each device on its web page.
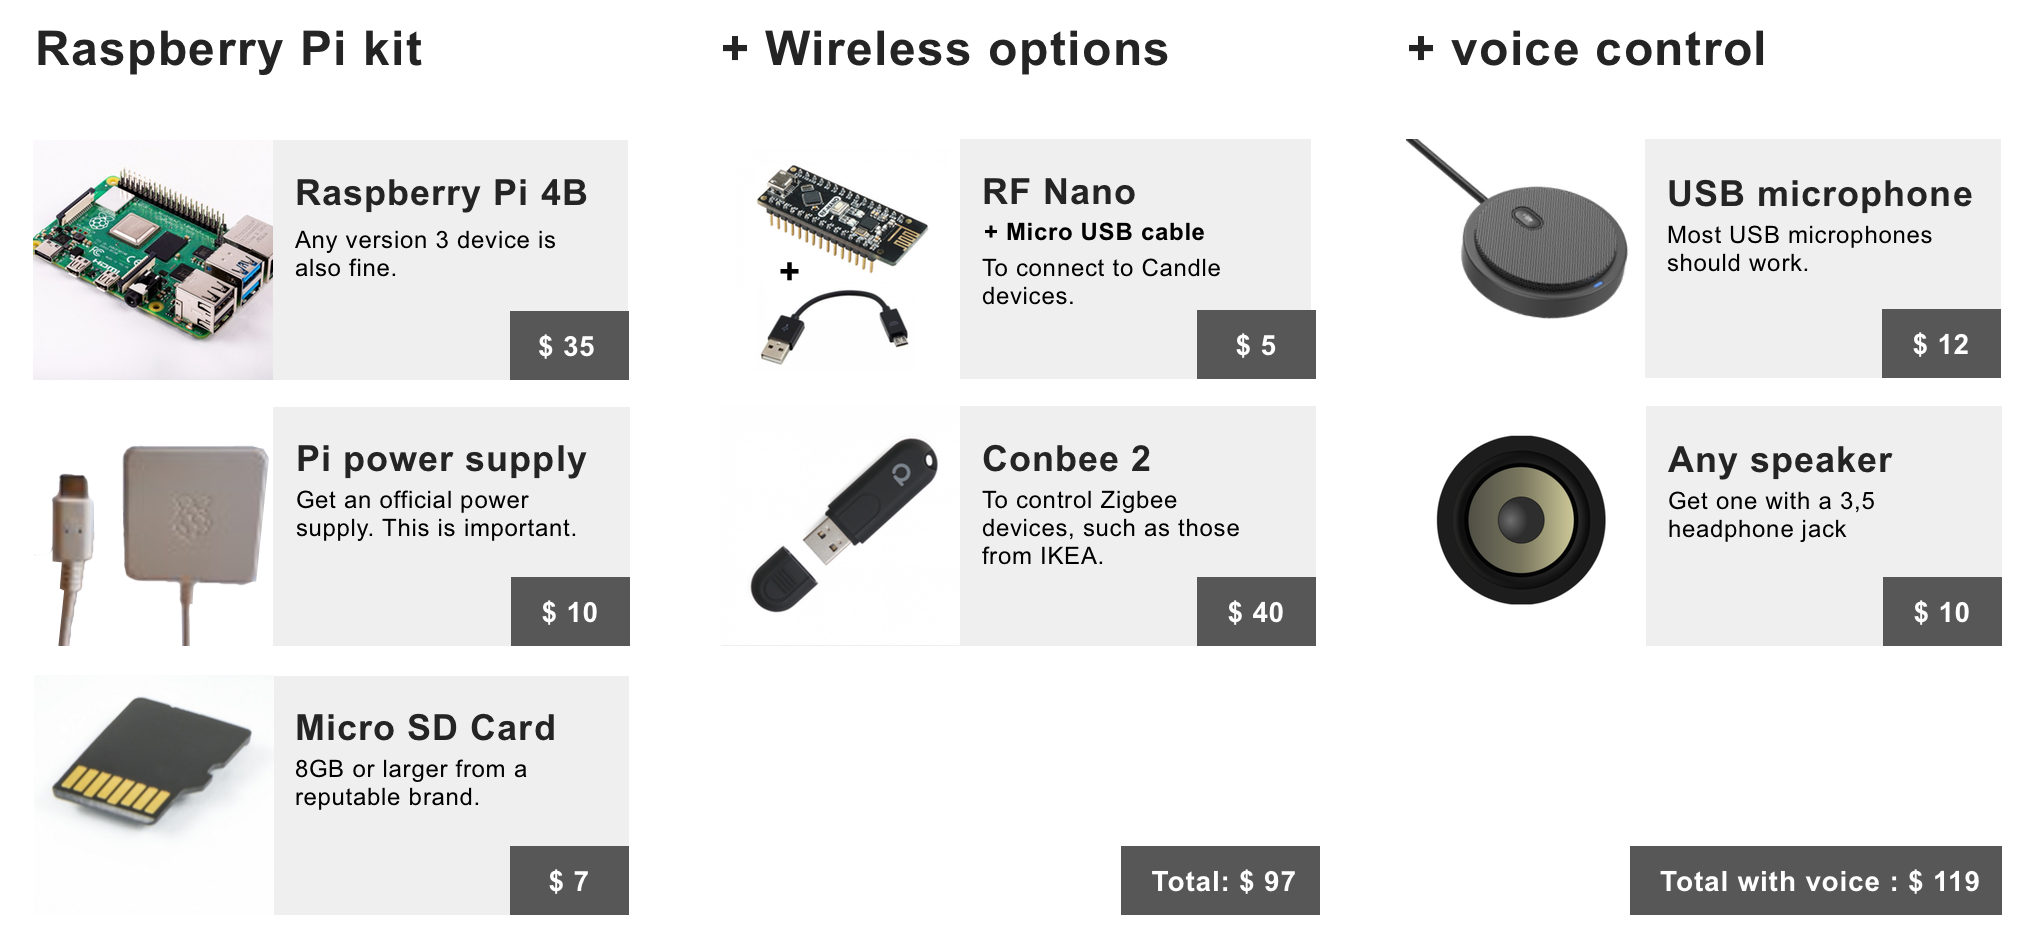
Candle controller shopping list
A more detailed shopping list with links can be found on the Candle Controller page.
Step 3
Create the Candle Controller
Say goodbye to the cloud
Build it
Follow the detailed instructions on how to build the Candle Controller.
Optional: voice control
If you want to add local voice control, follow the installation instructions.
Optional: touch screen
Follow these instructions if you want to connect a display or touch screen.
Step 4
Install more addons
Make sure you discuss any new feature with all members of your household first
Our recommendations
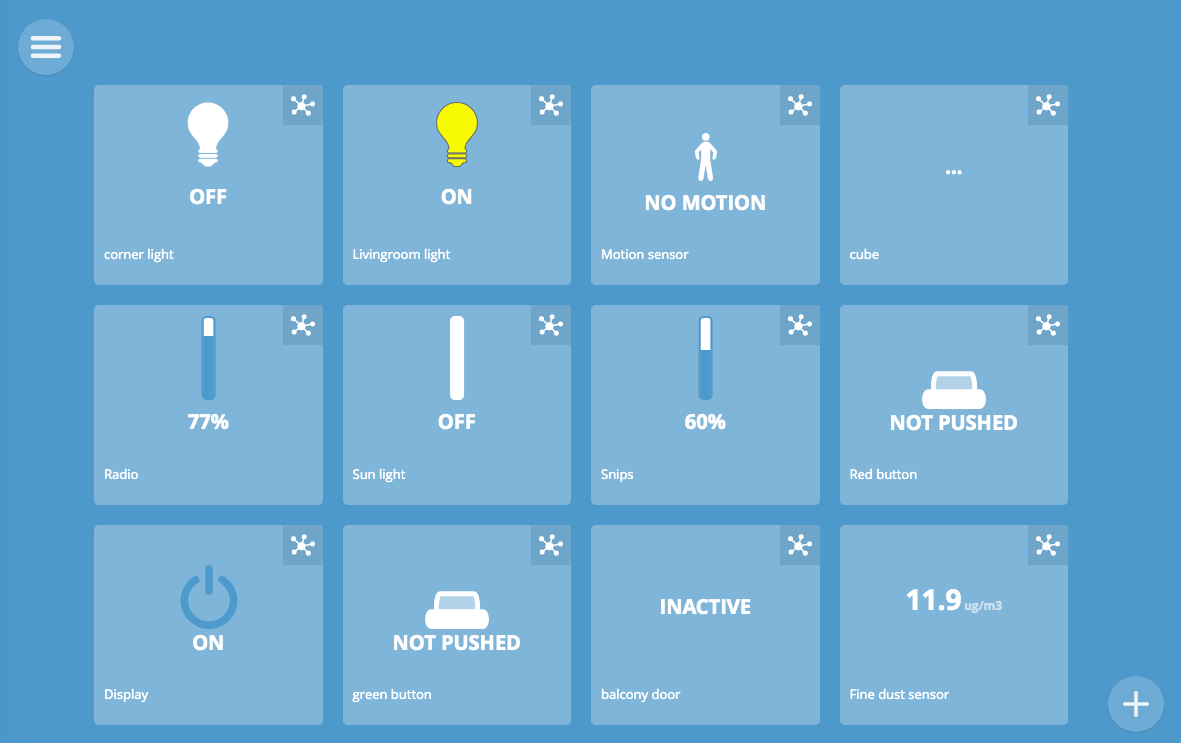
Square theme
This theme makes better use of screen space, and also adds some useful features.
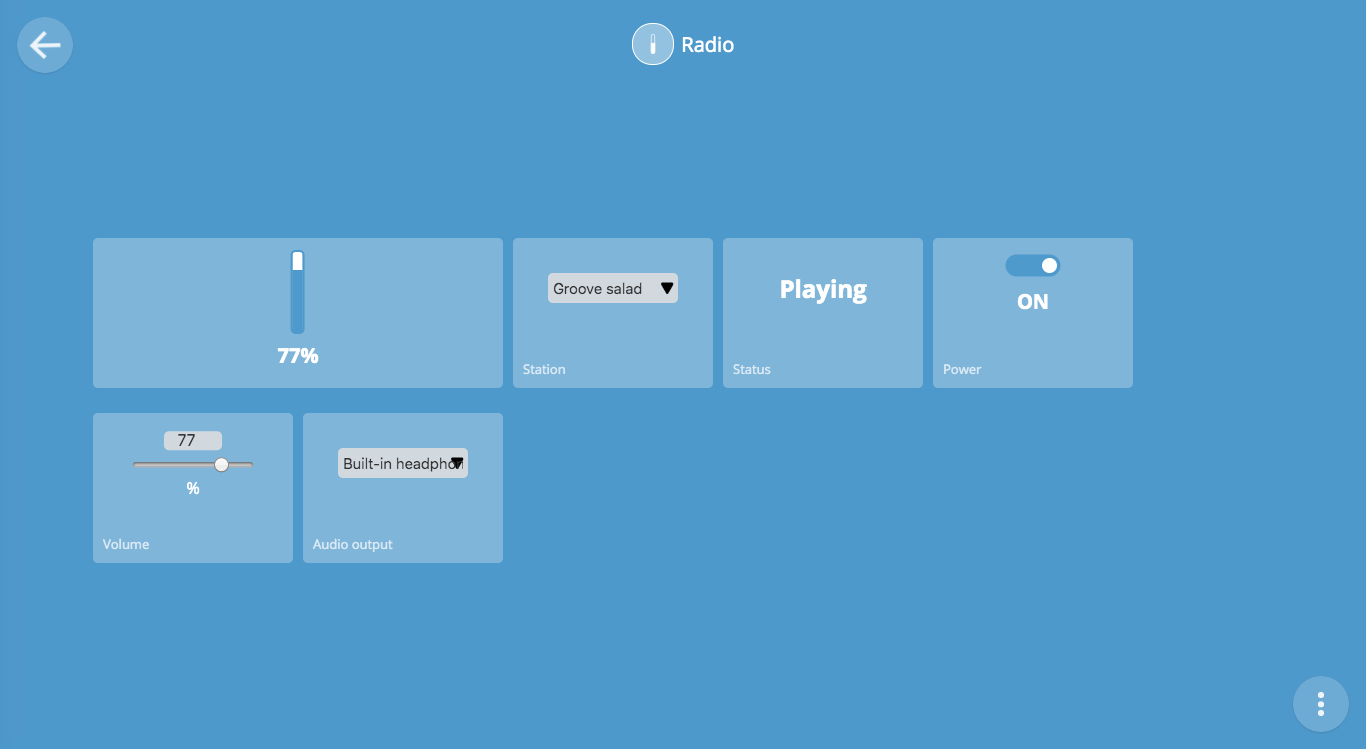
Internet radio
This simple addon allows you to provide and then easily switch between your favourite radio stations.
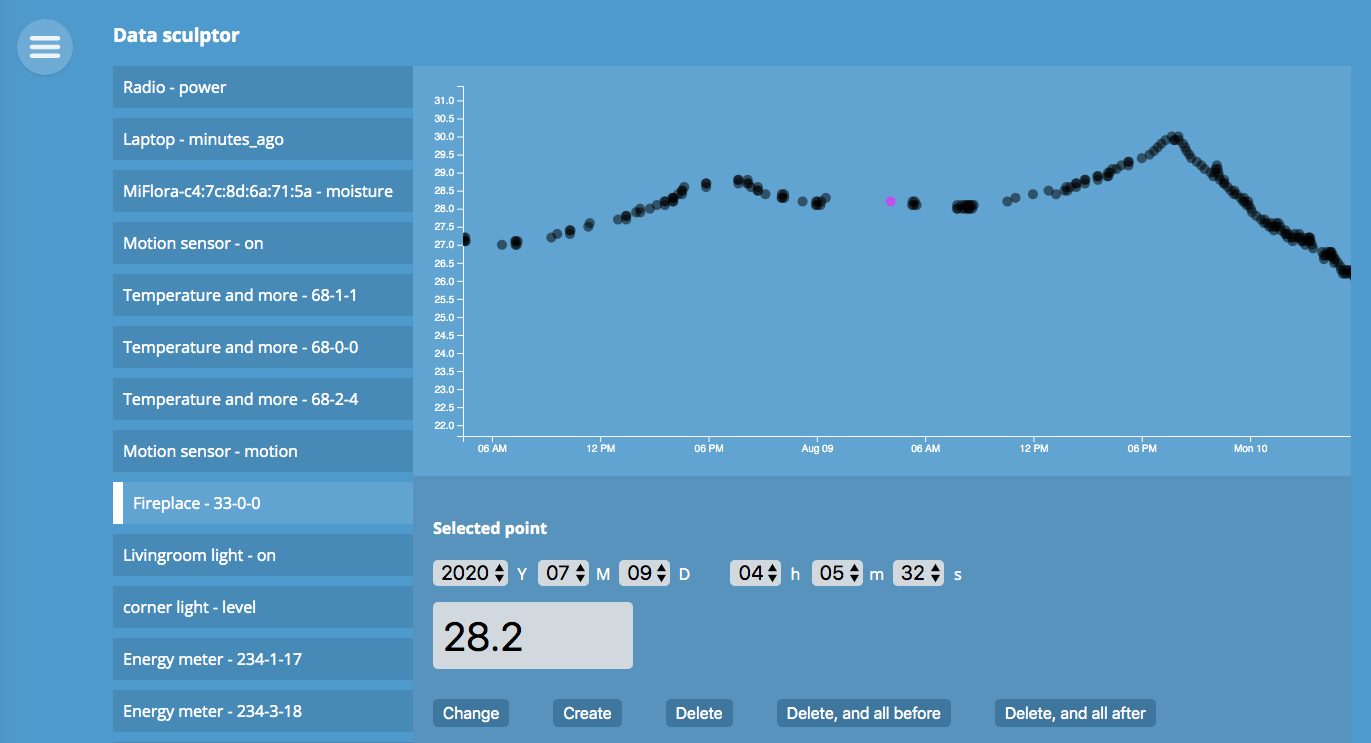
Privacy Manager
This unique and experimental Candle creation allows you to very selectively delete or change your logs.
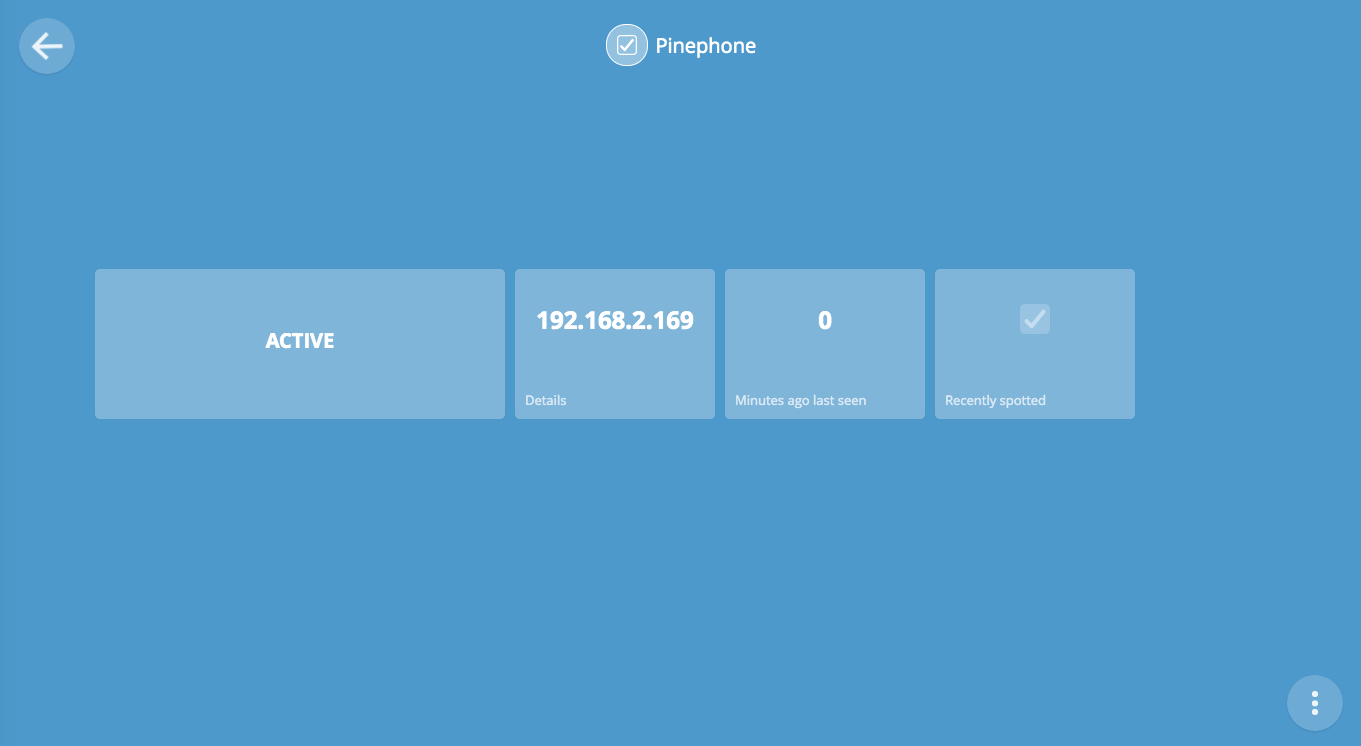
Network Presence Detection
The Network Presence detection addon periodically scans your local network. If it finds a device, such as a mobile phone, it will make it available as a thing. You could then create rules that respond to the presence of these devices in your home.
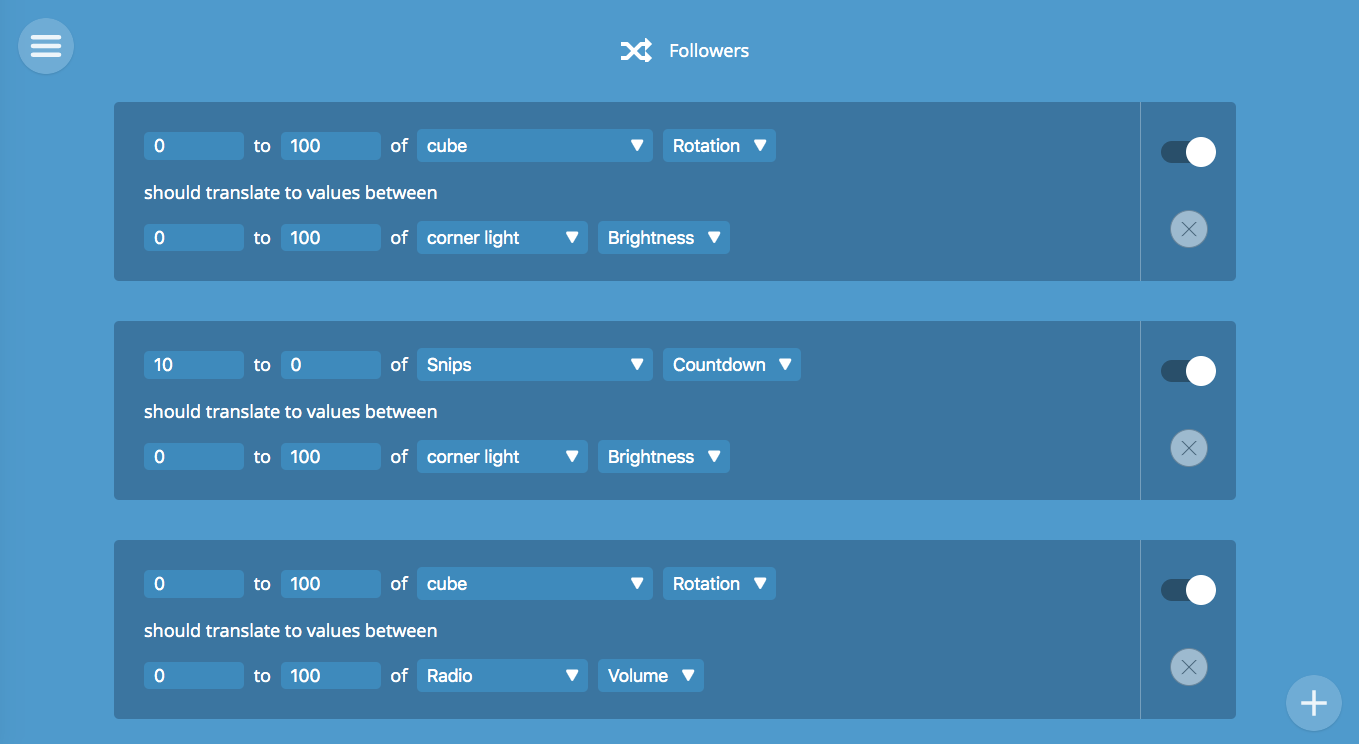
Followers
This addons allows a gradual change in one device to lead to a gradual change in another. For exampe, you could link the brightness of a lamp to the radio volume. Then as the radio volume goes up, so do the lights.
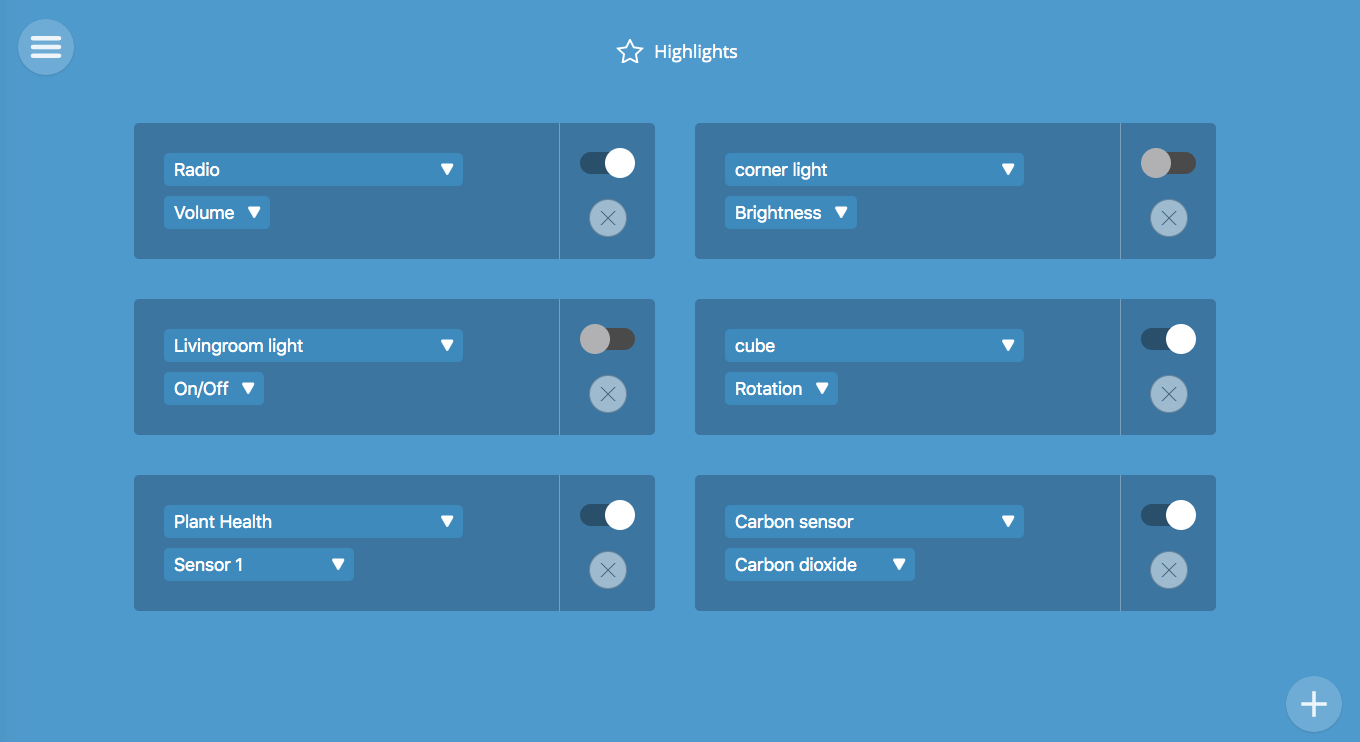
Highlights
This addon allows you to select which values or switches you want to have quick access to. For example, if you really care about electricity use, you could place some highlights together have a nice overview.
Step 4
Get to know the system
Create your first automation rules or set up a data data log
The basics
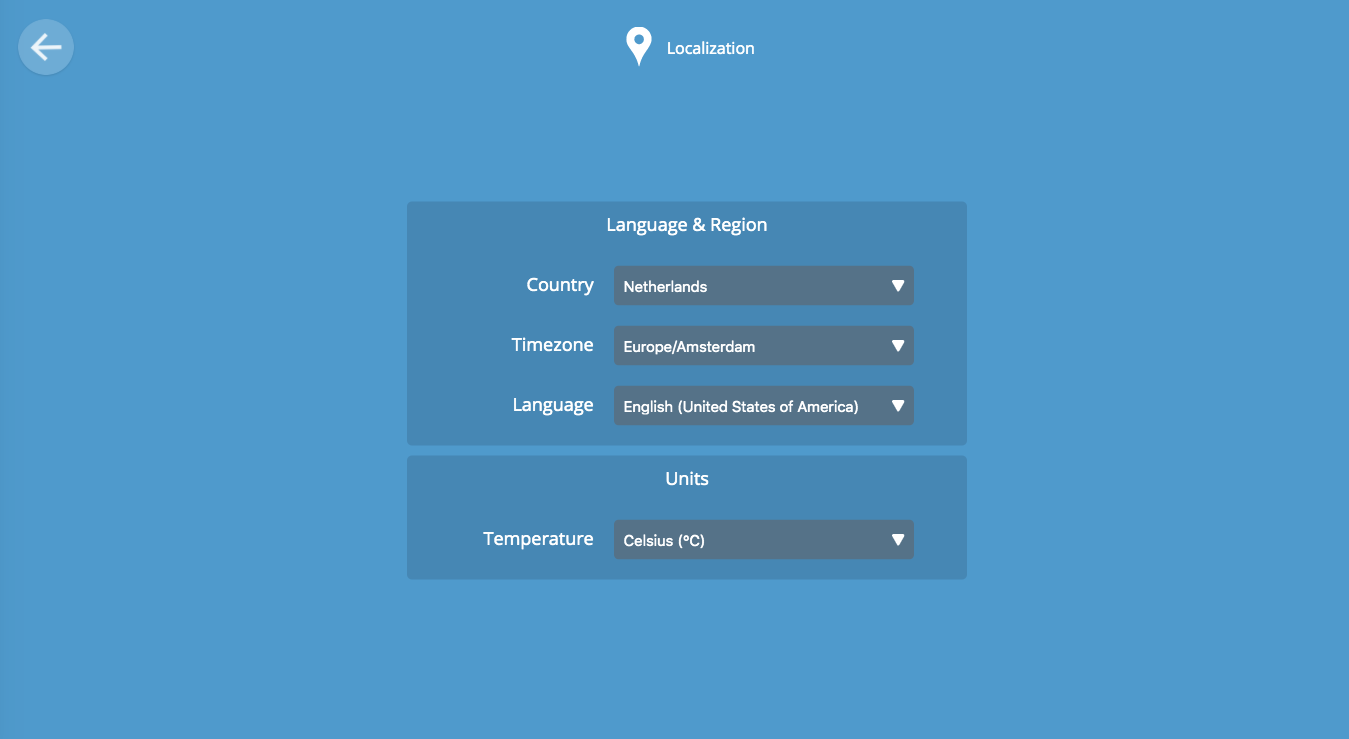
Change settings
Have a look at the various available settings, and change them if need be. For example, you should probably set your prefered language and timezone.
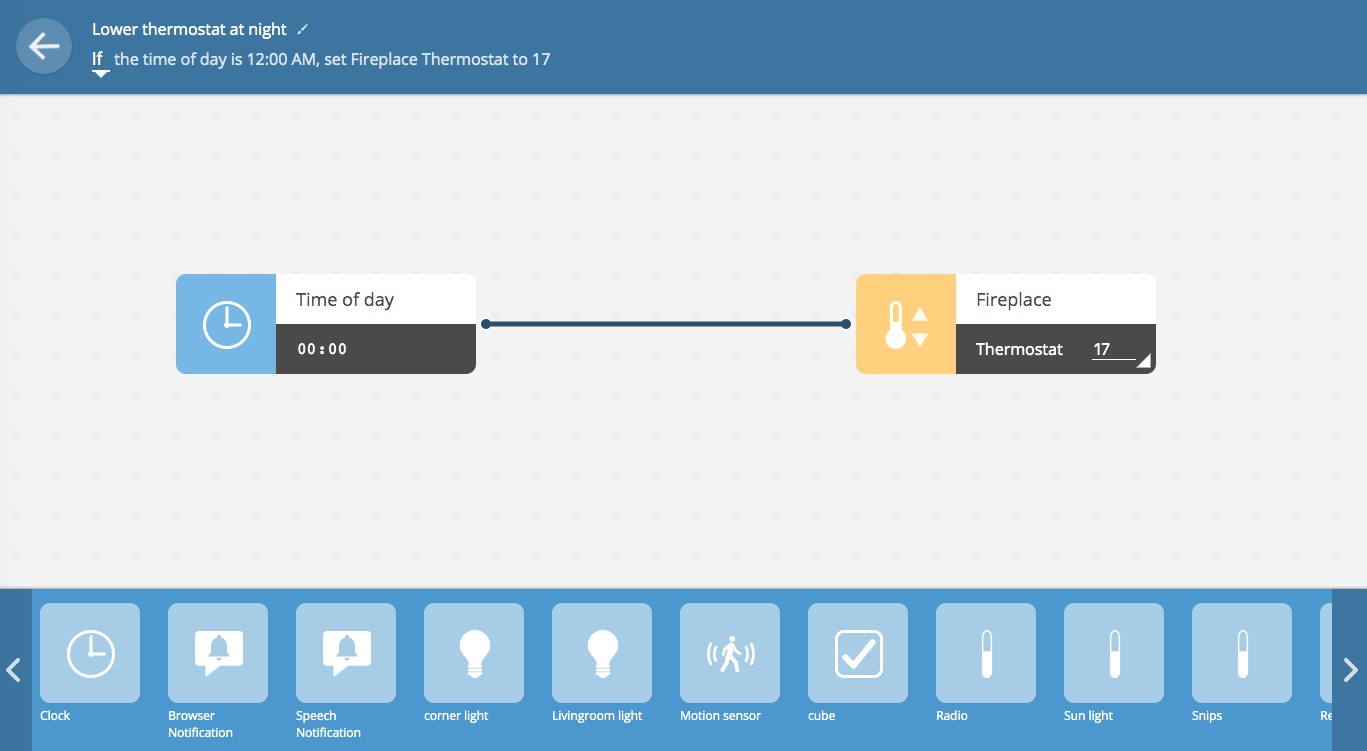
Create automation rules
Automate parts of your day by creating rules. For example, automatically turn on a device at the same time each day. Or have one device respond to an event, or the value of another device. You could, for example, send your phone a message if a motion sensor is triggered at night, and also turn on all the lights.
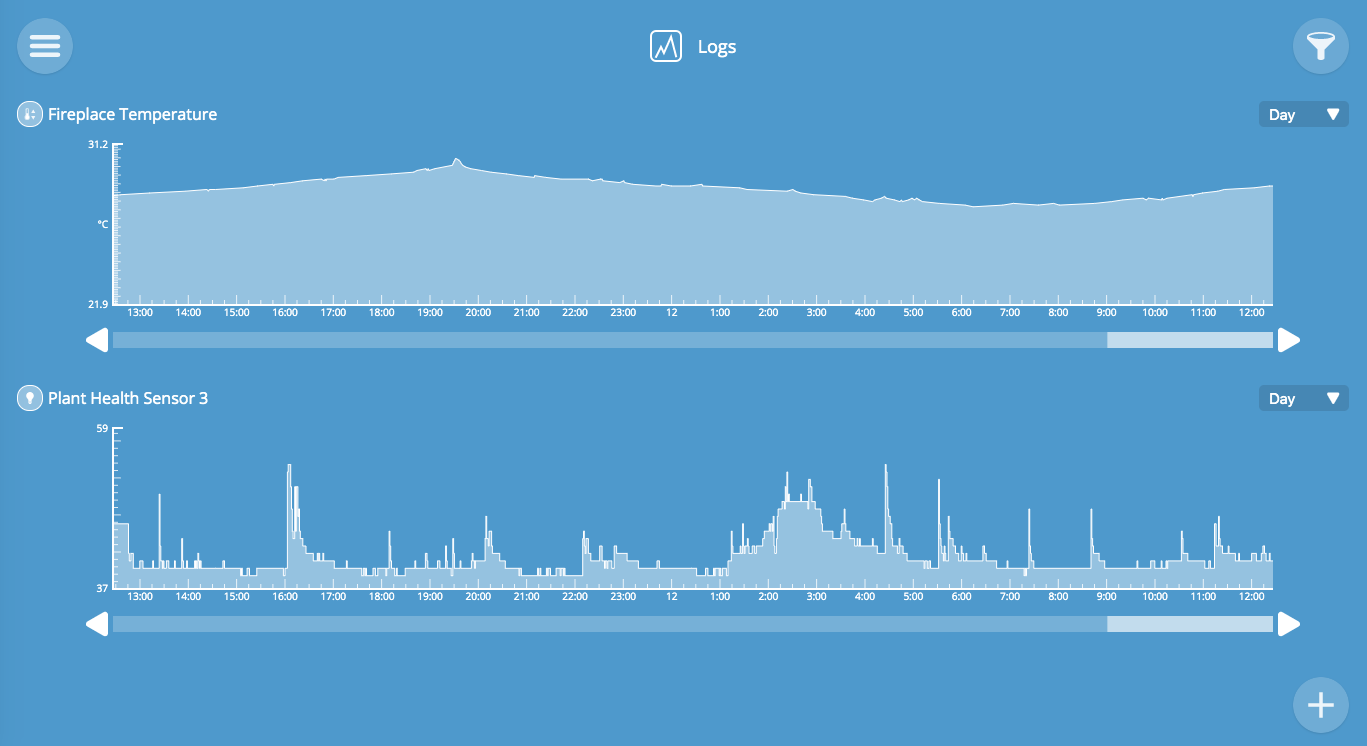
Create logs
Keeping logs of sensor data can reveal useful things about your life. For example, keeping track of electricity use allows you to try out ways of using less energy.
With great power also comes great responsbility, so make sure to always discuss what should be logged with the entire household.
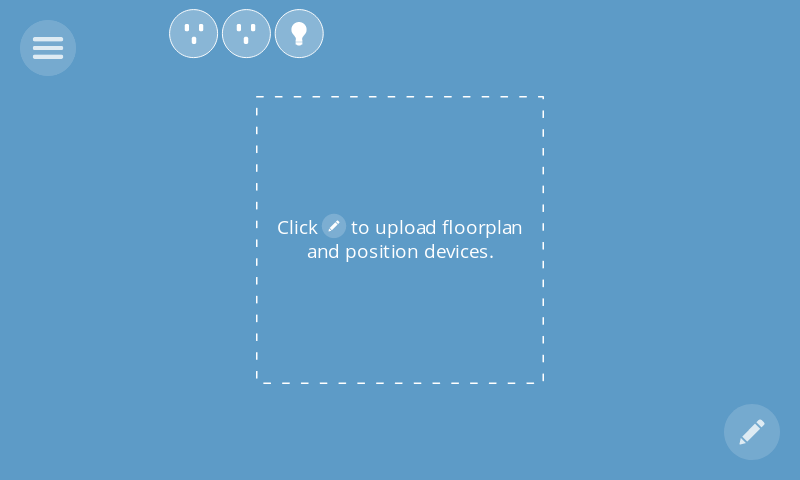
Add a floorplan
If you want, you can upload a floorplan image of your home, and then position your sensors and switches at the appropriate locations.
Step 5
Add more devices
The cloud is the limit
Buy privacy-compatible devices
We're working on a larger list of recommended products. For now, have a look at this initial overview.
This page will show you all supported devices. Have a look at this guide by Mozilla on how to connect Zigbee devices.
Create Candle devices
Each device's webpage has detailed instructions on what to buy and how put it together. Check out the climate sensor for a video that gives you some sense of what it's like.
You can also check out our guide on how to use the Candle Manager to upload code to your creations.