Energy use sensor
privacy friendly insight into your energy use
Only track what you need
Protect privacy
Live data can be disabled at any time. (Hourly and daily totals will still be transmitted.)
Choose what you log
Our tip: Improve privacy by only logging hourly or daily totals.
One size fits all
The sensor counts the light pulses on your home's electricity meter.
Use less energy
It can be confronting to see how much a new device raises your average electricity use.
Most smart meters are not privacy friendly
Around the world electricity companies are pushing home owners to install smart meters.
Each electric device in your home has a unique power usage fingerprint. By using "power disaggregation" algorithms your supplier could figure out which specific devices you own.
If you ask them, your supplier could promise to disable measuring your data remotely. But then you are still handing them the power to potentially re-enable this at any time. Not to mention the security issues.
Candle shows that you don't need to connect your meter to the cloud to get its benefits.
Creating the sensor
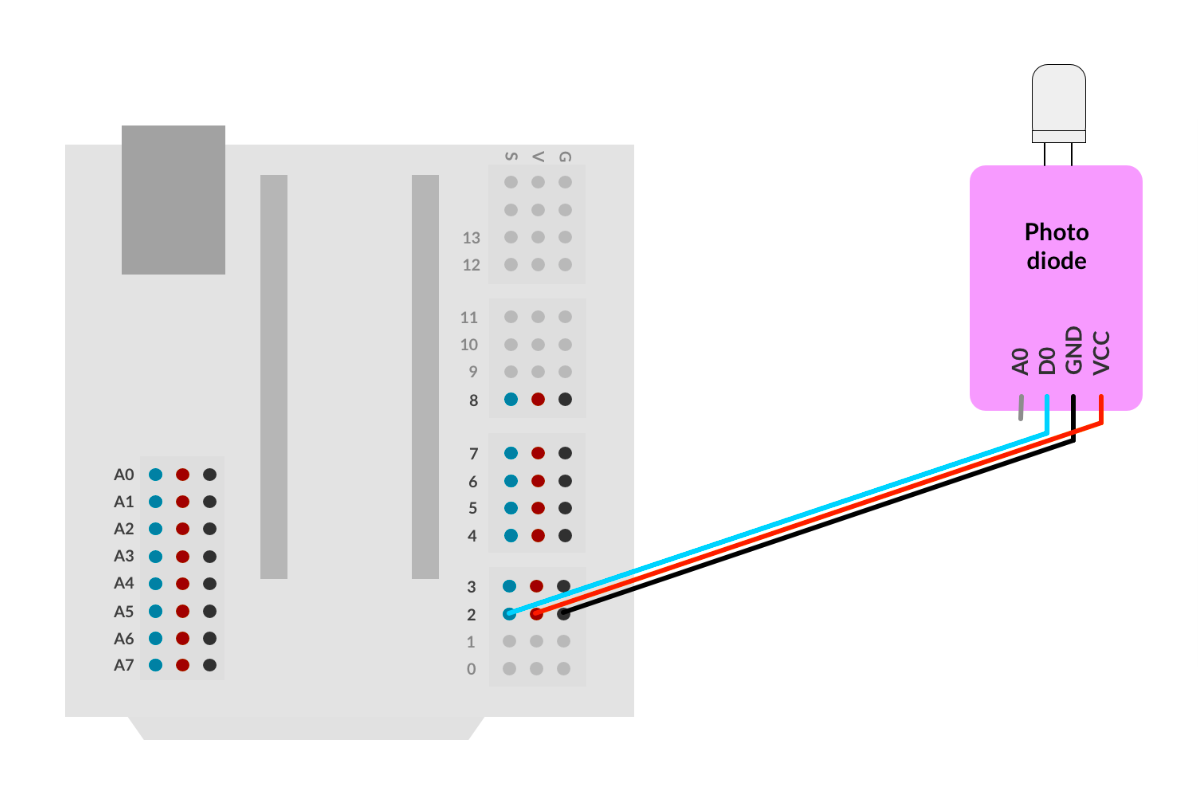
Connect the light pulse sensor
Connect its D0 (data) pin to signal pin 2 on the expansion board.
Connect its VCC (positive) pin to any VCC pin on the expansion board, and connect its GND (negative/ground) pin to any GND pin on the expansion board.
The sensor-LED will have to be placed on top of the pulsating LED of your home's electricity meter. You may have to tweak the sensitivity of the sensor by taking a small screw driver and turning the blue variable resistor.
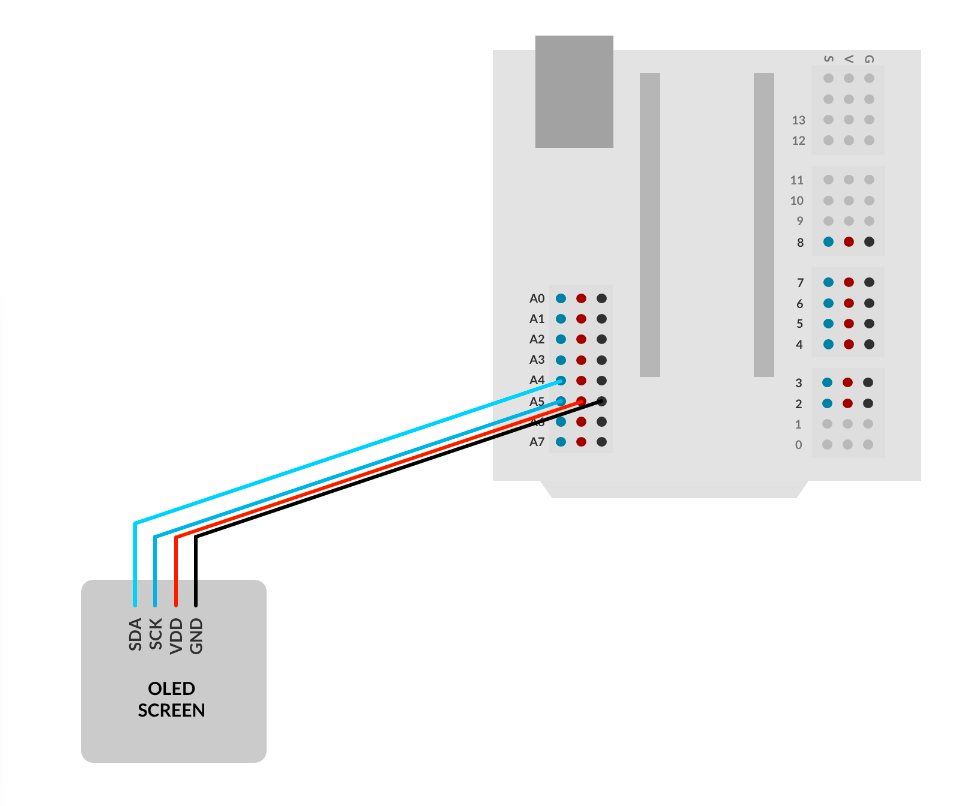
Connect the OLED screen
Connect its SDA
(data) pin to signal pin A4 on the expansion board, and connect its SCL
(clock) pin to signal pin A5 on the expansion board.
Connect its VCC (positive) pin to any VCC pin on the expansion board, and connect its GND (negative/ground) pin to any GND pin on the expansion board.
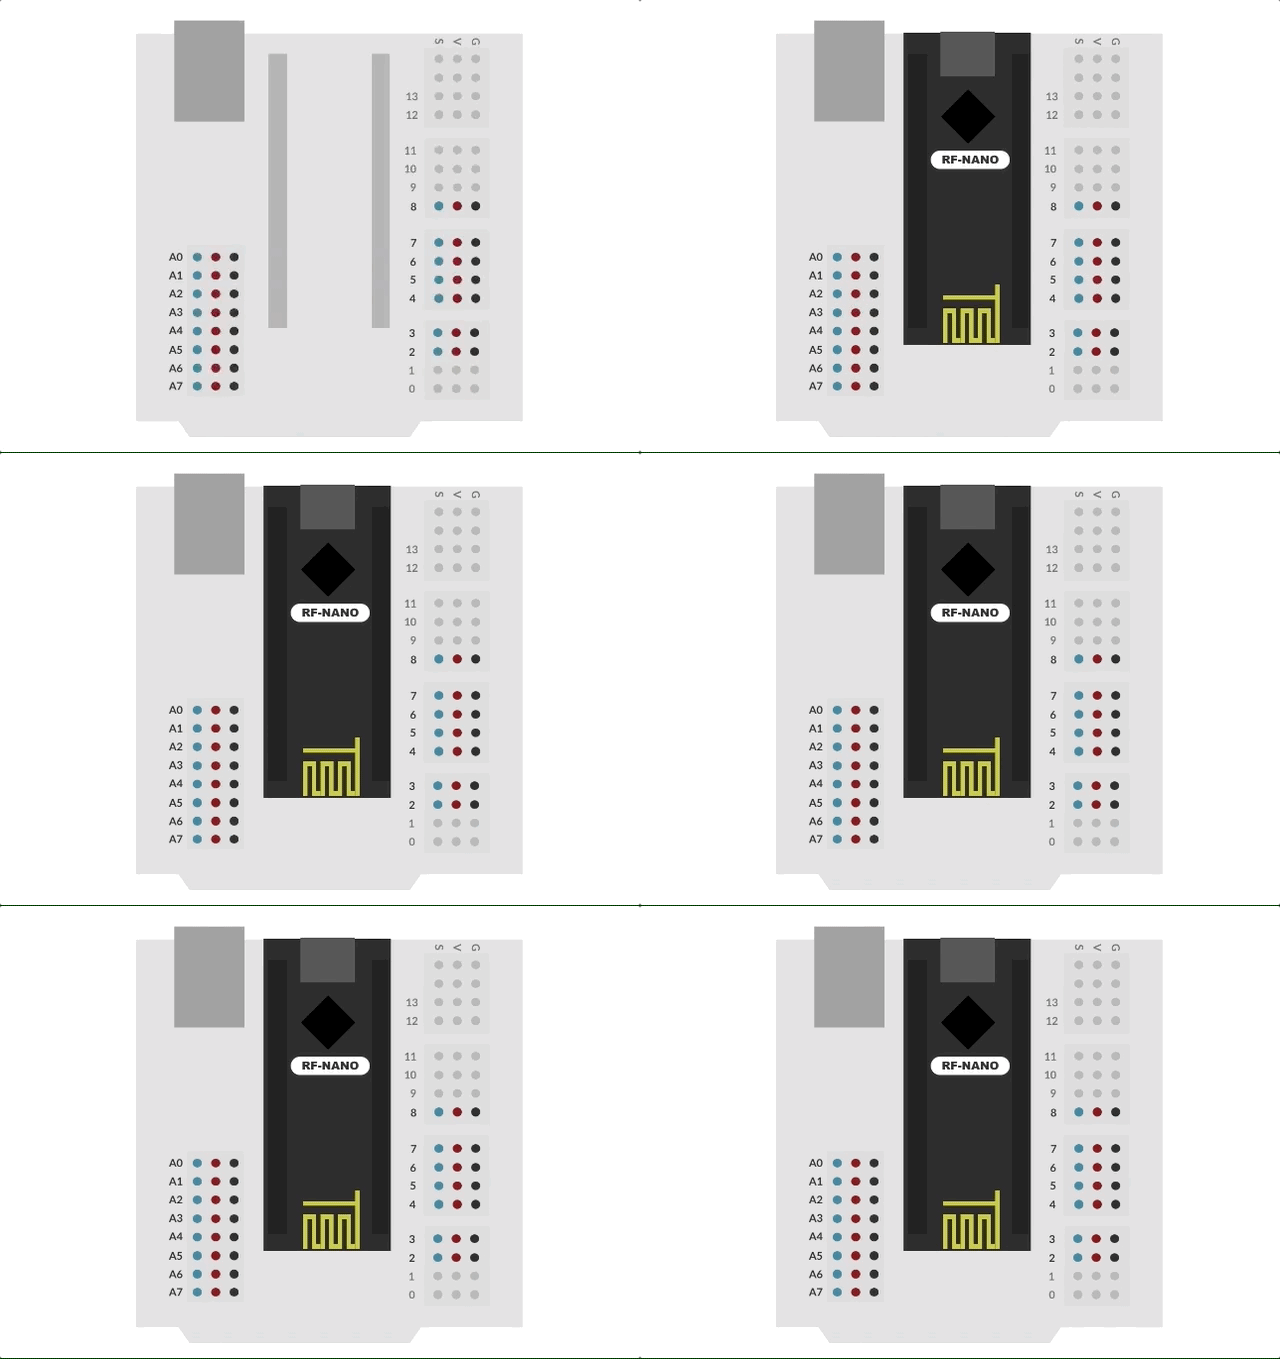
Plug in the RF-Nano Arduino
Plug the RF-Nano into its socket. The USB connector should be on the outside of the main board.
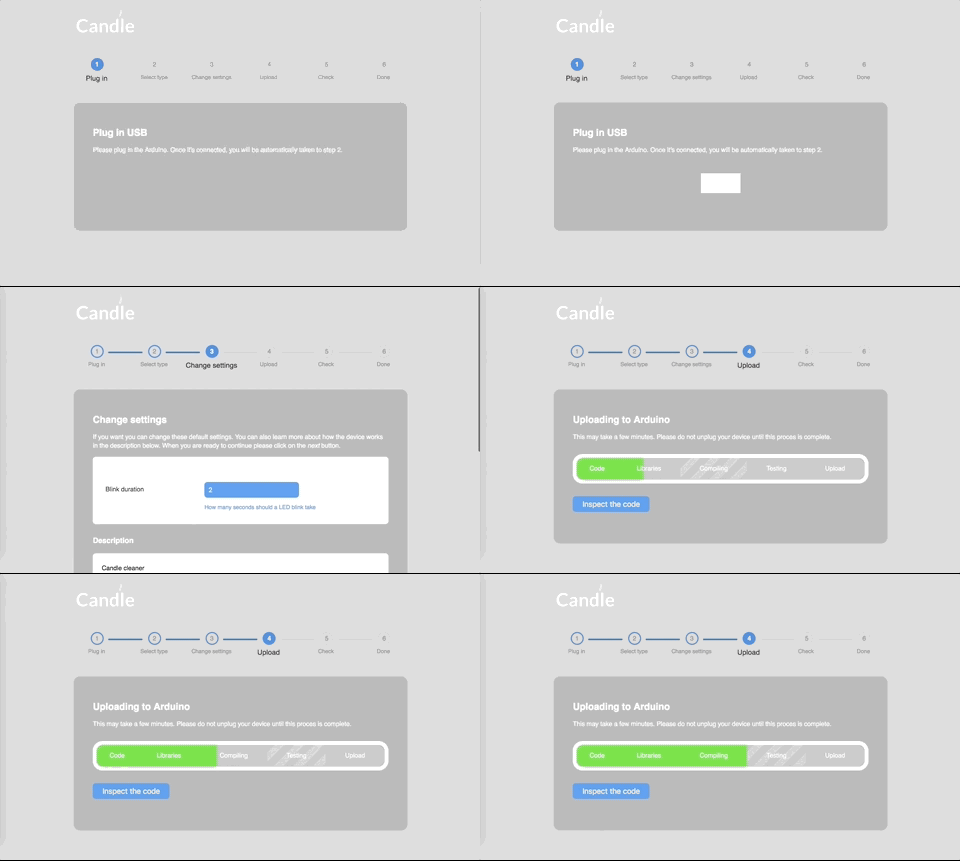
Open the Candle Manager
Select the Candle Manager from the menu, and follow the steps. It will help you upload the code to your new creation.
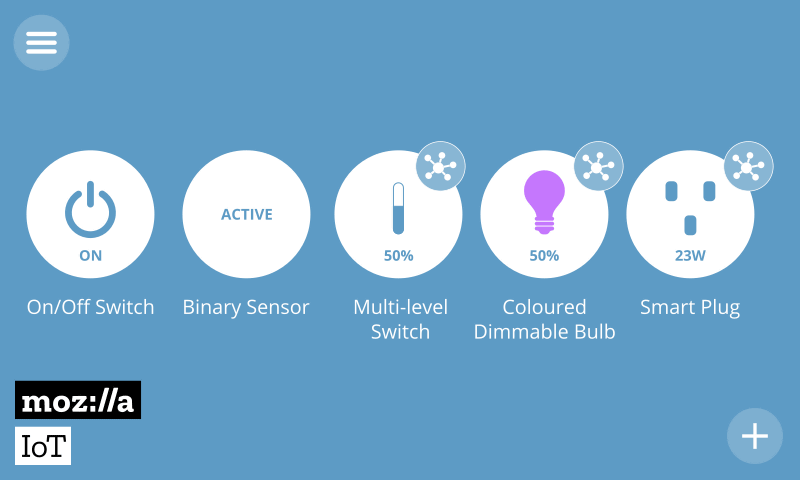
Add your new device
Visit the Candle controller and on the things page press the (+) icon. Your new creation should be available. Optionally, select which of its properties you'd like to have in the spotlight. Click on "save" to complete the proces.
Done!
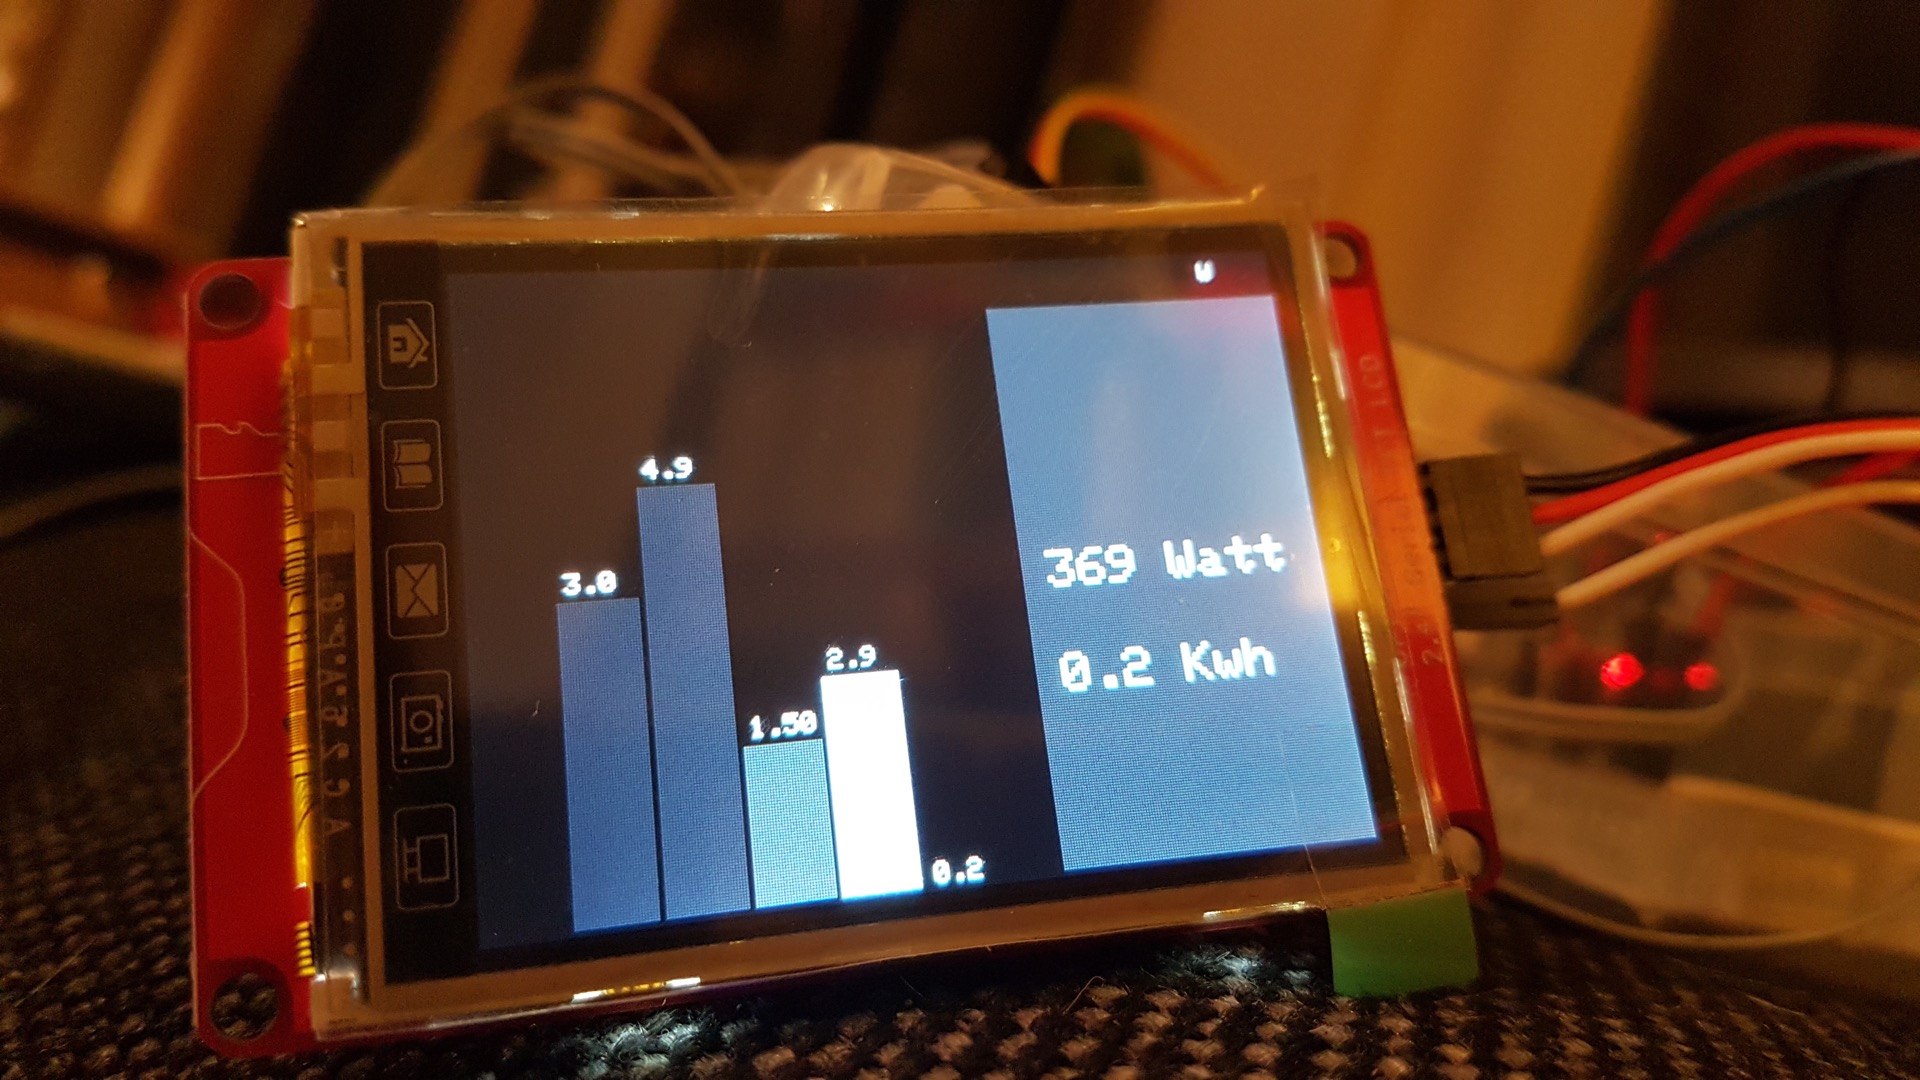
The advanced version created by designer Jesse Howard uses a touch screen instead of an OLED screen. It can display live and historic usage data.